
Building Your Own Cloud Storage: Deploying Nextcloud on an Azure VM
This blog post will guide you through setting up your cloud storage solution using Nextcloud on a virtual machine (VM) deployed in Microsoft Azure. Nextcloud offers a self-hosted alternative to popular cloud storage services, giving you complete control over your data.
INFORMATION TECHNOLOGY
Haseeb Ul Hassan
5/5/20242 min read
Prerequisites:
A Microsoft Azure account with an active subscription
Basic understanding of cloud computing concepts
Steps:
1. Create a Resource Group:
A resource group in Azure helps organize your cloud resources. In the Azure portal, create a new resource group with a name that reflects your project (e.g., "NextcloudVM").
2. Virtual Network and Subnet:
Next, define a virtual network to manage your VM's network settings. Create a virtual network with an appropriate address space and define a subnet within it to isolate your VM.
3. Network Security Group (NSG):
An NSG acts as a firewall, controlling inbound and outbound traffic for your resources. Create an NSG and configure rules to allow SSH access to the VM and HTTP/HTTPS traffic for Nextcloud.
4. Bastion Host:
A bastion host provides a secure entry point to your VM. Deploy a bastion host VM within your virtual network and configure it to allow SSH access from your local machine.
5. Create Ubuntu Server VM:
Now, create your main VM where Nextcloud will reside. Choose Ubuntu Server as the operating system and ensure it's deployed within the subnet you created earlier.
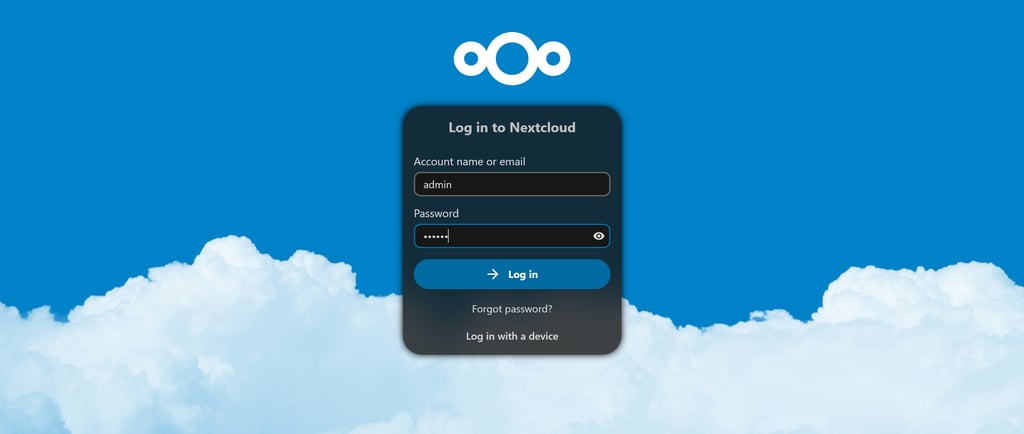
6. Install Nextcloud:
Connect to your Ubuntu Server VM via SSH through the bastion host. Use the following commands to install Nextcloud using snap:
sudo snap install nextcloud
sudo nextcloud.manual-install admin <username>
sudo nextcloud.enable-https self-signed
Replace `<username>` with your desired administrator username for Nextcloud.
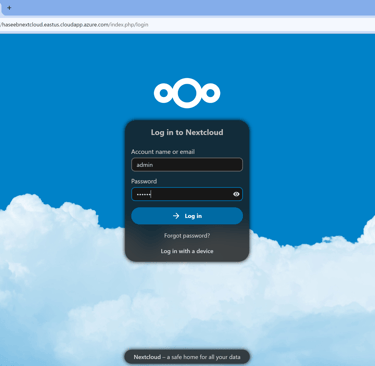
7. Publish an IP and Configure DNS:
Assign a public IP address to your Nextcloud VM for external access. To access Nextcloud via a user-friendly domain name, configure a DNS record pointing to your VM's public IP address.
Finally, within the Nextcloud VM, use the following command to add your DNS domain to the trusted domains list:
sudo nextcloud.occ config:system:set trusted_domains 1 --value=<your_dns_domain>
Additional Considerations:
This guide provides a basic setup. Consider implementing a persistent storage solution (e.g., Azure Managed Disks) for data persistence beyond VM restarts.
For production use, a self-signed certificate is not recommended. Explore integrating a service like Let's Encrypt for a trusted SSL certificate.
By following these steps, you'll have a functional Nextcloud server deployed on an Azure VM, offering you a secure and private cloud storage solution. Remember to adapt the configuration and security measures to your specific needs.